Scanning turns paper into pixels. Place documents on your printer’s scanning bed or automatic document feeder (ADF) and press “Scan” to create digital files you can store, share or email. Modern printers offer customizable scanning settings and secure options, helping small businesses stay organized while reducing paper clutter.
Whether it’s contracts, invoices, training manuals or marketing materials, scanning captures essential documents quickly and securely online; no photocopying or filing needed. Using your printer to scan saves time, protects sensitive data, and supports hybrid workflows.
For small- and medium-sized businesses (SMBs), scanning on a multifunction printer (MFP) integrates seamlessly with email, network folders, or document management systems. Paired with Busys’ managed print services, it streamlines everyday operations for maximum productivity.
In this guide, we break down the basics of document scanning, covering the steps, settings, and digital integrations involved. Read on to discover the best printers for scanning and where to get them.
What Is Document Scanning?
Document scanning is the process of converting paper documents into digital files. A scanner uses a light sensor to capture the image of each page and converts it into a file format, such as PDF or JPEG.
In contrast to copying, which reproduces content from one paper to another, scanning moves the content into a digital environment. Digitizing documents makes it easier to back them up, search their contents, send them electronically and integrate them into business workflows.
Most modern printers include a built-in scanner.
- Flatbed scanners, such as those found on many desktop multifunction printers (MFPs), are ideal for single sheets or delicate items; simply place the document face down on the glass and close the lid.
- Sheet‑fed or automatic document feeder (ADF) scanners can process multiple pages automatically, making them ideal for larger print jobs.
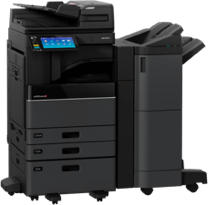
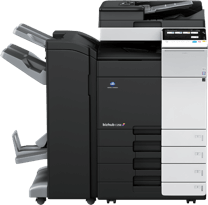
Higher-end devices from brands like Canon, HP, Konica Minolta, and Toshiba, all sold and serviced by Busys, combine printing, copying, and scanning in one machine, saving space and simplifying support.
What Are Scanning Settings?
Choosing the proper printer scan settings directly affects your file quality, storage size, and scanning speed. Here’s how to adjust scanning settings to balance clarity and efficiency:
DPI and Resolution
Resolution, measured in dots per inch (DPI), defines how much detail a scanner captures. DPI refers to the number of dots used to create a digital image. A higher DPI delivers sharper images but increases file size and scanning time.
What is the best DPI for document scanning?
For most business documents, 300 DPI is sufficient. It balances legibility, scanning speed and file size. It produces a file around 85 KB, compared to about 368 KB at 600 DPI.
- For text documents in grayscale or black and white, a resolution of 300 to 600 DPI is sufficient for clarity and to reduce file size.
- For detailed graphics, line art, or photos, choose a resolution of 600 DPI or higher for crisp quality.
|
How long does scanning take? Scanning at 75 DPI may take approximately six seconds per page, while scanning at 600 DPI can take 27 seconds per page. |
File Formats
You can save your scanned file in different file types, each with a specific purpose. Selecting the right one can simplify sharing and ensure compatibility across systems and departments.
- PDF: Ideal for multi‑page documents, proposals and manuals. Keeps layouts consistent and allows searchable text via OCR (optical character recognition).
- JPEG/PNG: Best for single pages, photographs, or marketing materials that need colour accuracy. JPEG compresses images to save space, while PNG preserves transparency and fine details.
- TIFF: Often used in professional and archival scanning. It retains quality without compression but produces larger files.
When scanning handwritten notes or photos, note that OCR may not detect the text. Consider adding alternative text or metadata after emailing the scans to yourself to make them readable.
Colour, Grayscale, or Black‑and‑White
Colour mode affects both file size and readability. The right choice depends on how you plan to use your scans.
- Colour scanning captures full colour for presentations, marketing assets, and coded documents, but creates larger files and lengthens scanning time.
- Grayscale scanning records shades of grey and balances quality and efficiency best; ideal for forms, invoices, and diagrams.
- Black-and-white scanning produces the smallest files and the fastest scan times, making it perfect for pure text documents.
Of all three types, black-and-white scans can reduce file size compared to colour, helping small businesses save storage and transmission time.
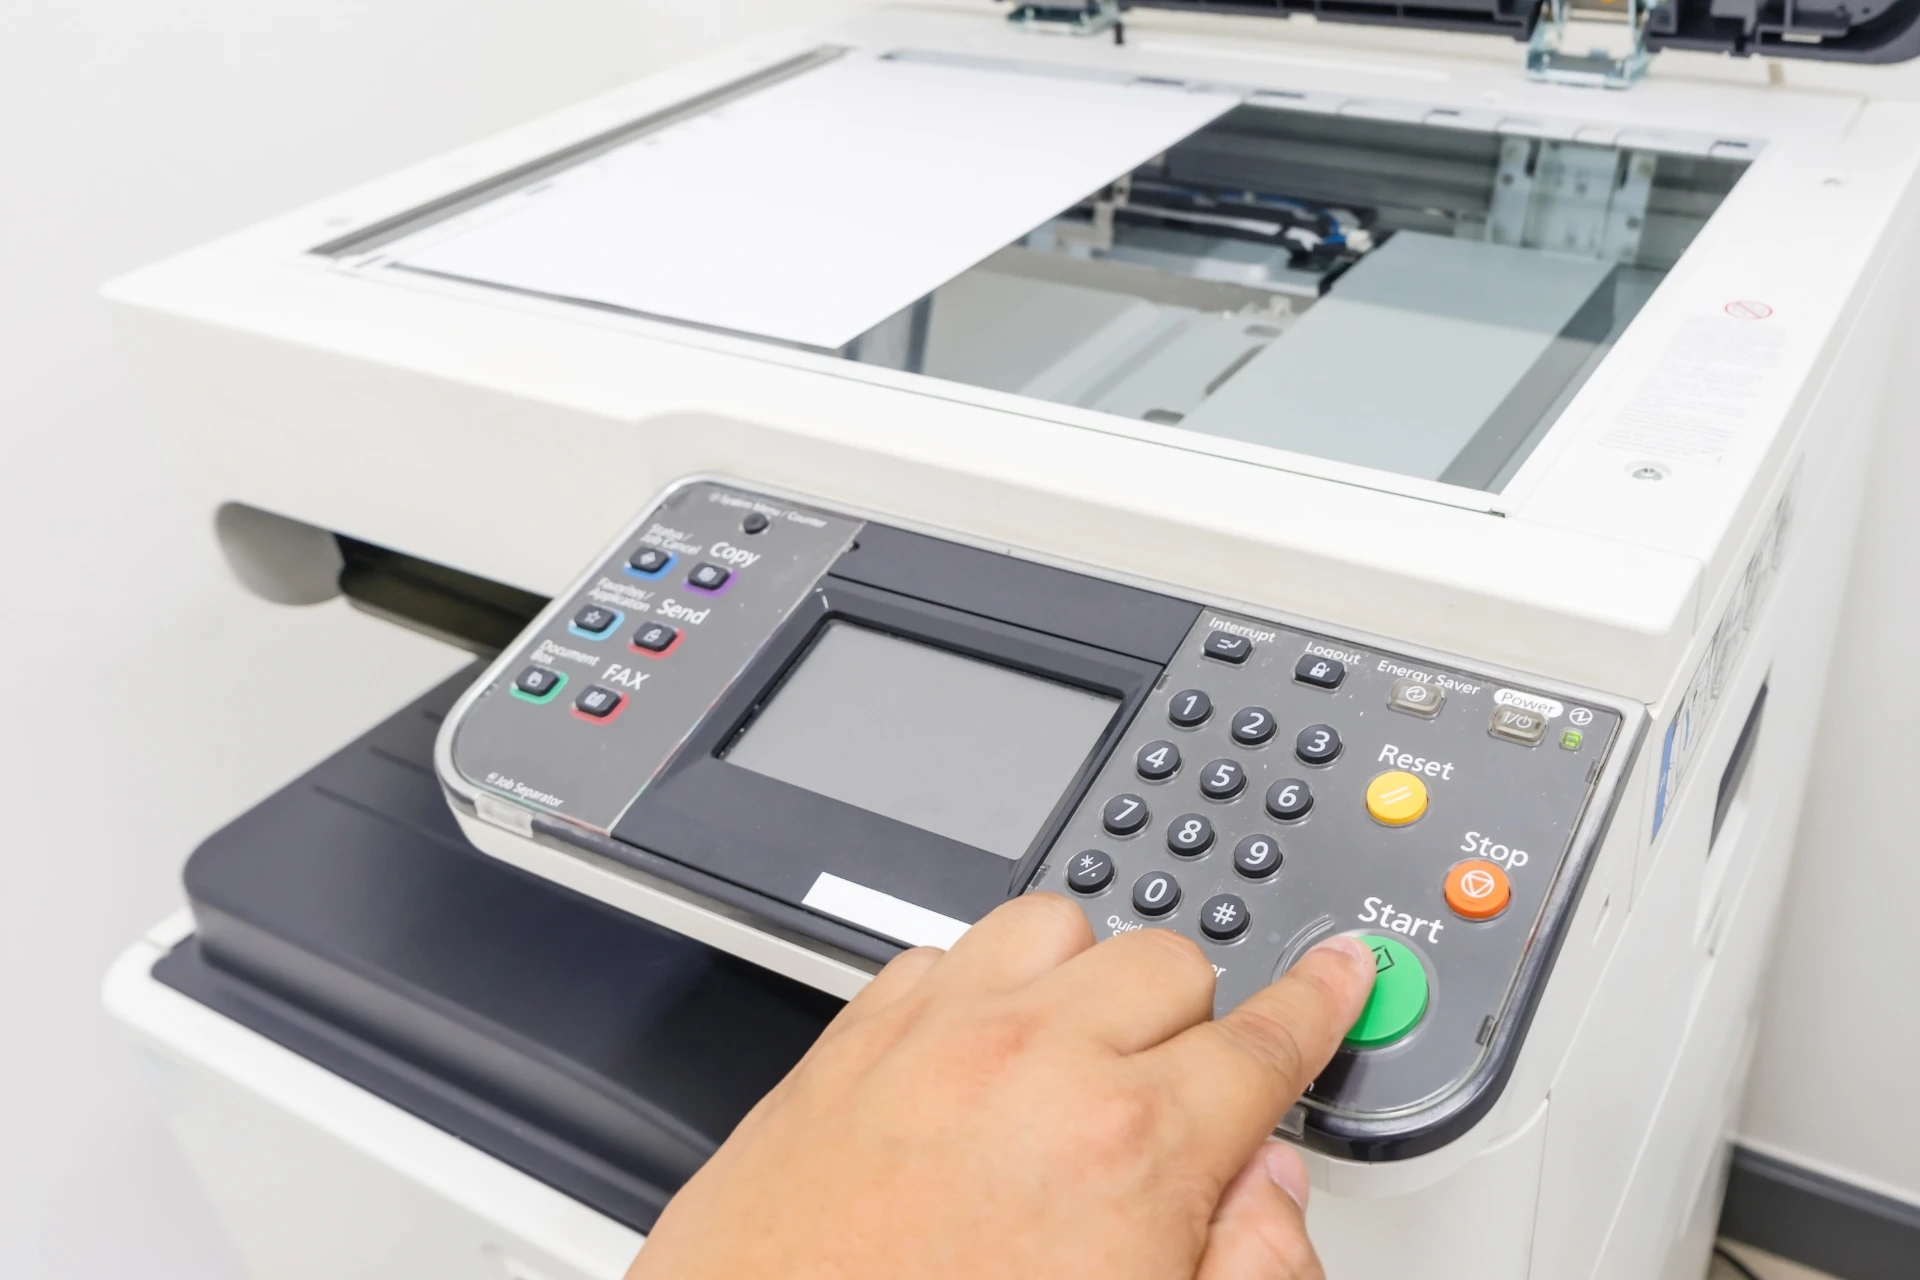
Image source: Canva
Step‑by‑Step: How to Scan Documents On a Printer
Whether you’re digitizing invoices, client records, or marketing materials, here’s how to scan papers on your printer.
Step 1. Prepare Your Printer and Computer
Before scanning, make sure your printer is powered on and connected to your computer or network. Install any required scanner drivers or software if it’s a new device. If your printer isn’t responding, restart it to reset the connection and prepare for a new scan job.
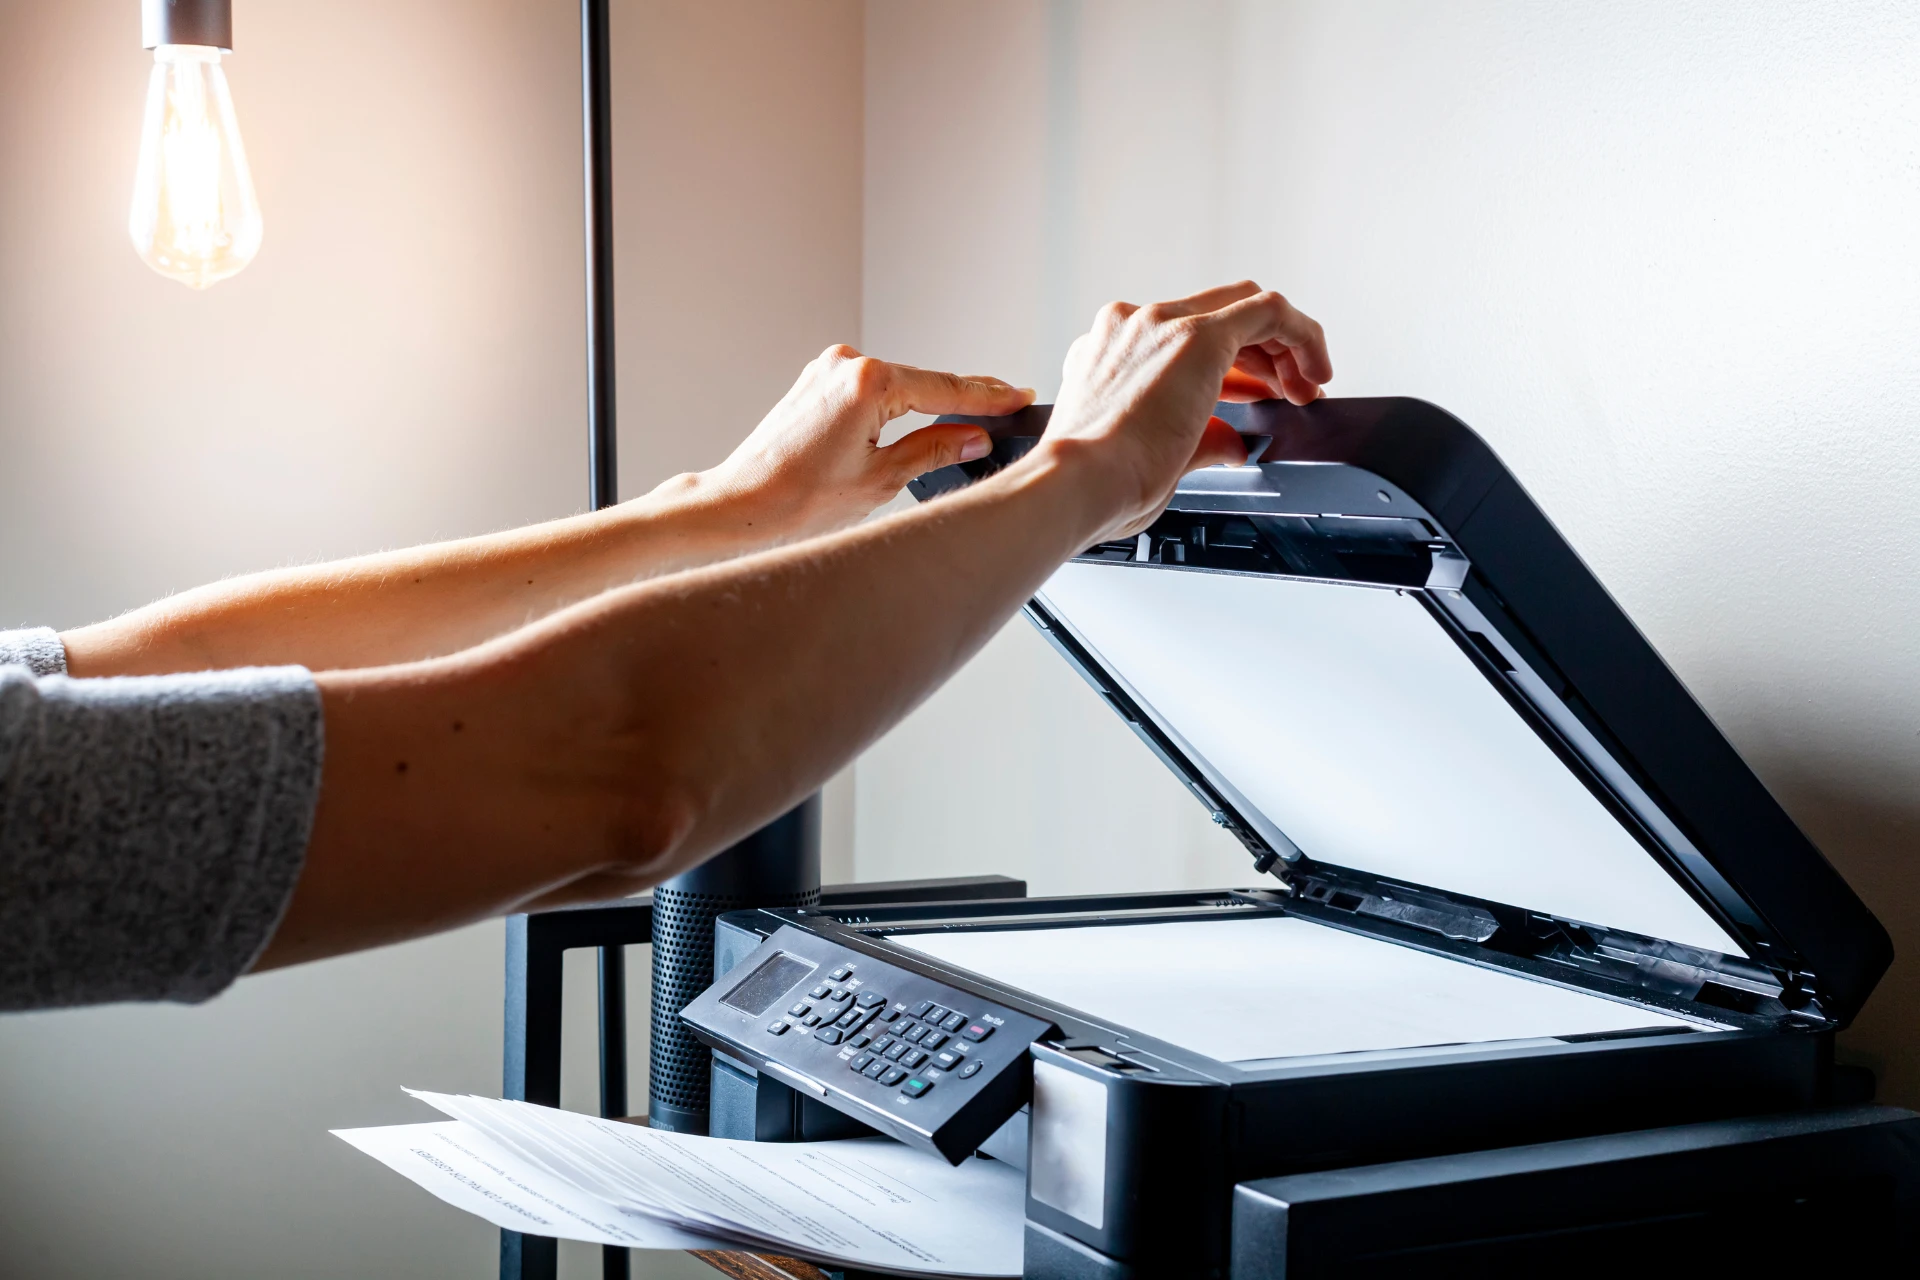
Step 2: Place the Document on the Scanner
How you place the document depends on the type of scanner:
- For flatbed scanning, lift the lid and place your document face down on the glass, aligning it with the corner guide. Close the lid to prevent glare and improve image quality.
- If your printer has an ADF, load pages face-up and adjust the paper guides for proper alignment.
Step 3: Select Scanning Options
Access the Scan function from your printer’s touchscreen or scanning software on your computer. You can adjust settings such as colour mode, resolution, orientation, and document type (e.g., document, book, newspaper, or photo).
Key scan settings include:
- Colour mode: Choose colour for photos and marketing materials, grayscale for forms or drawings, and black‑and‑white for simple text.
- Resolution (DPI): 300 DPI is ideal for most office documents.
- File format: Select PDF for multi‑page documents, or JPEG/PNG for photos. Some scanners offer a searchable PDF (with OCR), which makes text searchable and editable.
Step 4: Start Scanning
When everything’s set, press Scan on your printer or in the software. Some systems may display a copyright or confirmation notice; accept to continue. If you’re scanning multiple pages on a flatbed, repeat the process for each page until all are captured.
Step 5: Save, Email or Print Your Scans
Once scanning is complete, decide how to handle your digital files. You can
- Save scans to a USB drive, cloud storage, or network folder
- Email scanned documents to yourself or others directly from the printer.
- Print copies or archive them in your document management system.
For quick sharing, select “Email PDF” and enter the recipient’s email address. You’ll see a confirmation once the file is sent.
Step 6: Finish and Tidy Up
Remove your original documents and close the scanner lid. On shared printers, always clear your session or delete files to maintain privacy. Some devices automatically wipe temporary files when you tap “End Session”.
Image source: Canva
How to Scan to Email and Cloud
Modern printers make it easy to scan documents directly to email or cloud storage, saving time and improving collaboration. Instead of printing and distributing paper copies, you can scan documents using printer devices and send or store them digitally in seconds.
How to Scan to Email
Most MFPs let you email scanned files straight from the device. Here’s how:
- Load your pages in the tray or on the flat scanner bed.
- Select “Scan & Send” or “Email” on the printer’s touchscreen.
- Enter the recipient’s email address or select from the contact list.
- Adjust settings such as colour, file format, file name, and orientation.
- Press “Start” to scan and send.
You can also opt to collate multiple pages into a single PDF for easy sharing and distribution. This is ideal for small offices, schools, and remote teams needing quick document delivery.
How to Scan to Cloud
Cloud scanning uploads files to services such as Google Drive, Dropbox, or Microsoft OneDrive. This feature uploads your scanned document directly to the selected cloud service.
Although specific steps depend on your printer model and cloud platform, the general process is typically as follows:
- Set up the Scan to Cloud feature. Click the “Scan to Cloud” button on the printer’s touchscreen. If you’re using it for the first time, you may be prompted to scan a QR code or visit a web address to complete the setup in your browser.
- Connect your Cloud account. Sign in to your Cloud storage account and connect it with your printer. Add the destination folder for scanned documents.
- Load documents into the scanner bed or tray.
- Select “Scan to Cloud” again on the printer screen and select your destination folder. Adjust settings according to your preferences.
- Tap “Start” to scan to the cloud. A confirmation text will appear to confirm the upload.
Security Tip: Scanned documents containing sensitive information can be vulnerable to hacking. Always enable two‑factor authentication and limit access to authorized users to protect sensitive data.
|
Why Scan to Email or Cloud? Scanning directly to email or cloud eliminates physical file handling, reduces clutter, and simplifies collaboration for remote or hybrid teams. Team members can instantly access, annotate, and share scanned documents with clients or partners from any location. |
Why Is Document Scanning Important for SMBs?
For small and medium-sized businesses, document scanning saves space, strengthens data security, and improves efficiency. By learning how to scan documents on a printer, teams can digitize paperwork, reduce manual filing, and access files instantly from any device.
Digital Transformation and Efficiency
Scanning paper into digital files makes it easier to search, share, and store critical information. Digital files integrate seamlessly with accounting software, document management systems, and customer relationship management (CRM) tools, simplifying daily tasks.
For instance, scanning invoices or employee forms enables instant attachment to records, eliminating the need for manual data entry and hours of administrative work.
Space and Cost Savings
Paper storage takes up valuable office space and requires cabinets, shelving, and off‑site archiving. Scanning documents eliminates the need for physical storage, freeing up office space and lowering overhead costs.
Digital documents are easy to back up, duplicate, and distribute, cutting down on printing and courier expenses. Over time, these savings make the best printer for scanning documents a worthwhile investment.
Security and Compliance
Physical documents can be lost, stolen or damaged. Digital scans can be encrypted, password‑protected and stored securely in the cloud.
Modern printer scan features allow you to require user authentication before scanning, guaranteeing that only authorized staff can send or access sensitive files. This supports compliance with data protection and privacy regulations.
Sustainability and Paper Reduction
Digitizing your paperwork means less paper, ink, and waste. Scanning to email or cloud storage supports environmentally friendly practices while lowering your business’s carbon footprint.
Busys offers ENERGY STAR® certified MFPs that combine efficient scan-to-cloud and duplex printing functions, among others, helping businesses save energy and work sustainably.
Learn more: Best Printer for Small Business

Image source: Canva
Choosing the Best Printer for Scanning Documents
Not all printers offer the same scanning capabilities. When selecting a printer for scanning, consider these factors:
Flatbed vs. ADF
Flatbed scanners are ideal for scanning single pages, photos, or delicate documents, producing crisp, high-resolution images. ADFs handle multiple pages at once, making them perfect for contracts, reports, or other bulk scanning tasks.
Many MFPs from Canon, HP, Konica Minolta, and Toshiba combine flatbed and ADF scanning capabilities. When printing long contracts or multi‑page reports, an ADF with duplex scanning (two‑sided) saves time and reduces handling.
| Busys’ product experts can help you choose an MFP with the right combination of flatbed quality and feeder capacity. For one, the Konica Minolta Bizhub C308 features dual scanning that can handle up to 160 originals per minute, making it perfect for SMBs dealing with high-volume scanning and digitization. |
Resolution and Image Quality
- For everyday documents, look for a printer that scans at 300 DPI or higher
- For detailed graphics or images, 600 or 1200 DPI models capture sharper results.
Some advanced MFPs feature advanced image processing to sharpen text and remove background noise. Canon Colour imageRUNNER ADVANCE C5550i II can handle 1200 dpi x 1200 dpi for crisp quality across documents and materials.
Connectivity and Compatibility
Modern printers let you scan documents using USB, Ethernet, or Wi‑Fi. Select a printer that is compatible with your network and supports scan-to-email, scan-to-cloud, or scan-to-USB features. busys.can configure devices to work seamlessly with your existing network and software applications.
Software and OCR
Scanning is easier with smart software. Look for printers with built-in OCR so that you can create searchable PDFs without extra tools. Some MFPs connect directly to workflow platforms and cloud storage apps, making digital archiving and collaboration effortless.
| Pro Tip: When evaluating printers, look for user‑friendly interfaces, customization options and security features such as user authentication and audit logs. Busys makes sure your setup comes equipped with all these features, so they’re ready to work for you. |
Size and Capacity
Match your printer to your document volume. Small offices can benefit from compact desktop MFPs, like Konica Minolta BIZHUB 3320.
Businesses with heavier workloads may need a floor‑standing unit with a larger ADF and higher duty cycle, like the Toshiba E-STUDIO 5508A, featuring high-speed and high-capacity dual-scanning features.
Service and Support
A reliable printer scan setup includes more than just good hardware. Busys provides end-to-end service, including installation, configuration, staff training, maintenance, and repair.
At Busys, we’ve partnered with leading manufacturers to provide timely and hands-on support. We ensure fast access to parts, supplies, and on-site support to keep your scanning workflow running smoothly.
Where Can You Print and Scan Documents?
Public libraries, copy centres, and print shops typically offer scanning to email, cloud storage or USB. However, having your own scanner built into a multifunction printer provides businesses with the convenience, privacy, and speed that public stations can’t match.
Leasing a printer from Busys means you get commercial‑grade equipment plus the dedicated support of a service team.
Document Scanning Best Practices
To ensure consistent results and maintain the longevity of your scanner, follow these best practices:
- Prepare your documents. Remove staples and paper clips. Smooth out folded corners. Dirty or crumpled papers can jam the feeder.
- Clean the scanner glass. Dust and smudges show up as streaks or spots on scans. Use a soft, lint‑free cloth and a small amount of glass cleaner to wipe the surface clean.
- Choose appropriate settings. Select 300 DPI for most documents. Increase to 600 DPI for graphics or archival. Use colour mode only when necessary to keep file sizes manageable.
- Use OCR when possible. Searchable PDFs make documents easier to find and edit. Remember that OCR doesn’t work on handwritten or image‑only pages.
- Save in the right format. Use PDF for multi‑page documents. For photos or diagrams that require high fidelity, choose JPEG or PNG.
- Organize your files. Name files consistently and store them in a central location. Consider using document management software for version control and access permissions.
- Secure your scans. If you’re scanning sensitive information, enable user authentication at the printer and send files to secure folders or encrypted drives. Protect cloud storage accounts with strong passwords and two‑factor authentication.
Following these guidelines ensures that scanning supports your workflow rather than slowing it down.
Summary: Key Takeaways
- Scanning converts paper into digital files. Place the document face down on the scanner and select the appropriate settings to capture it as a PDF or image.
- Choose settings wisely. 300 DPI is a practical default for document scanning; higher DPI improves quality, but it also increases file size and scanning time. Select colour or grayscale based on your document type.
- Email, cloud or USB, your choice. Modern MFPs let you send scans directly via email or save them to cloud storage or a USB drive.
- Scanning benefits SMBs. Digitizing documents improves workflow efficiency, saves space, supports compliance and reduces paper waste. It also enables remote collaboration and integrates with document management systems.
- Select the right equipment. Look for printers with both flatbed and ADF scanning, adjustable resolution, and secure connectivity. Busys offers MFPs from leading brands, along with leasing options, MPS and expert support.
- Busys is your partner. From choosing hardware to configuring scan workflows and providing ongoing support, Busys helps small and medium‑sized businesses print and scan smarter, not harder.
Source the Best Printer For Scanning Documents
Whether you need a compact printer for daily scanning or a high-volume multifunction printer for digitizing company-wide files, busys.can help you choose the right model.
Our flexible lease and purchase options match your scanning needs, budget, and workflow.
Ready to upgrade your document scanning setup? Browse our printer selection or contact us today for personalized recommendations from our print experts.