While printers have been around for a long time now and have evolved to become more user-friendly, the average person still struggles with the technicalities of it all.
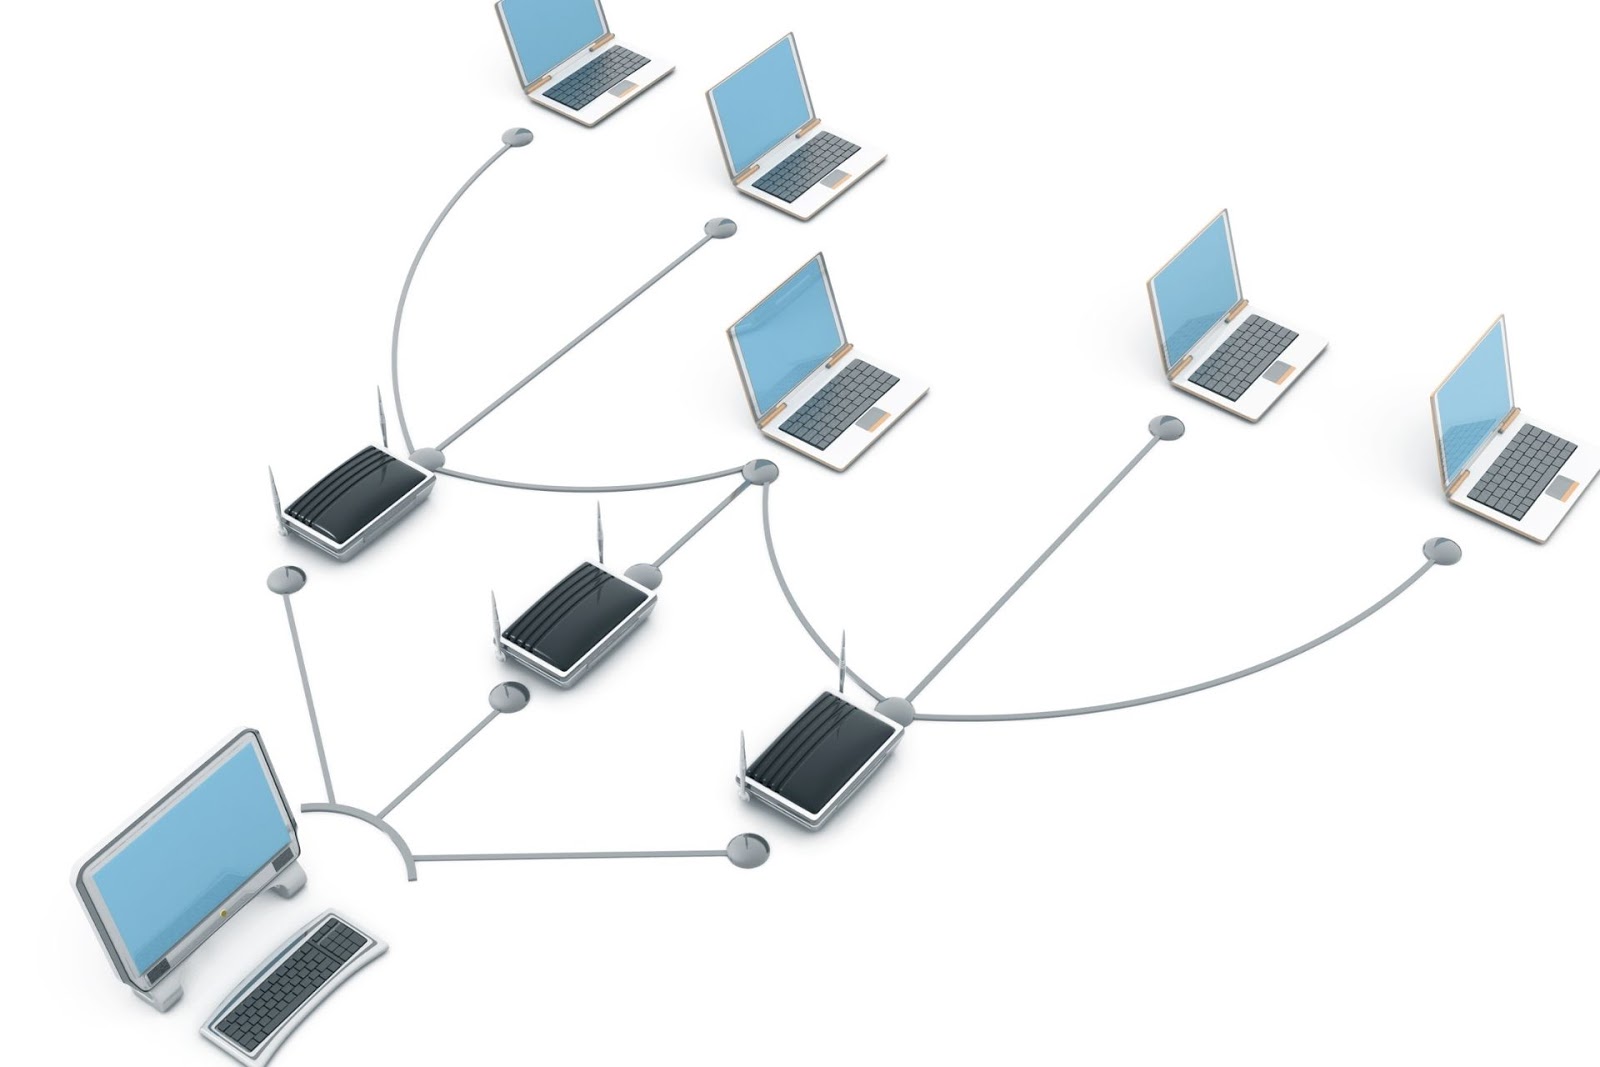
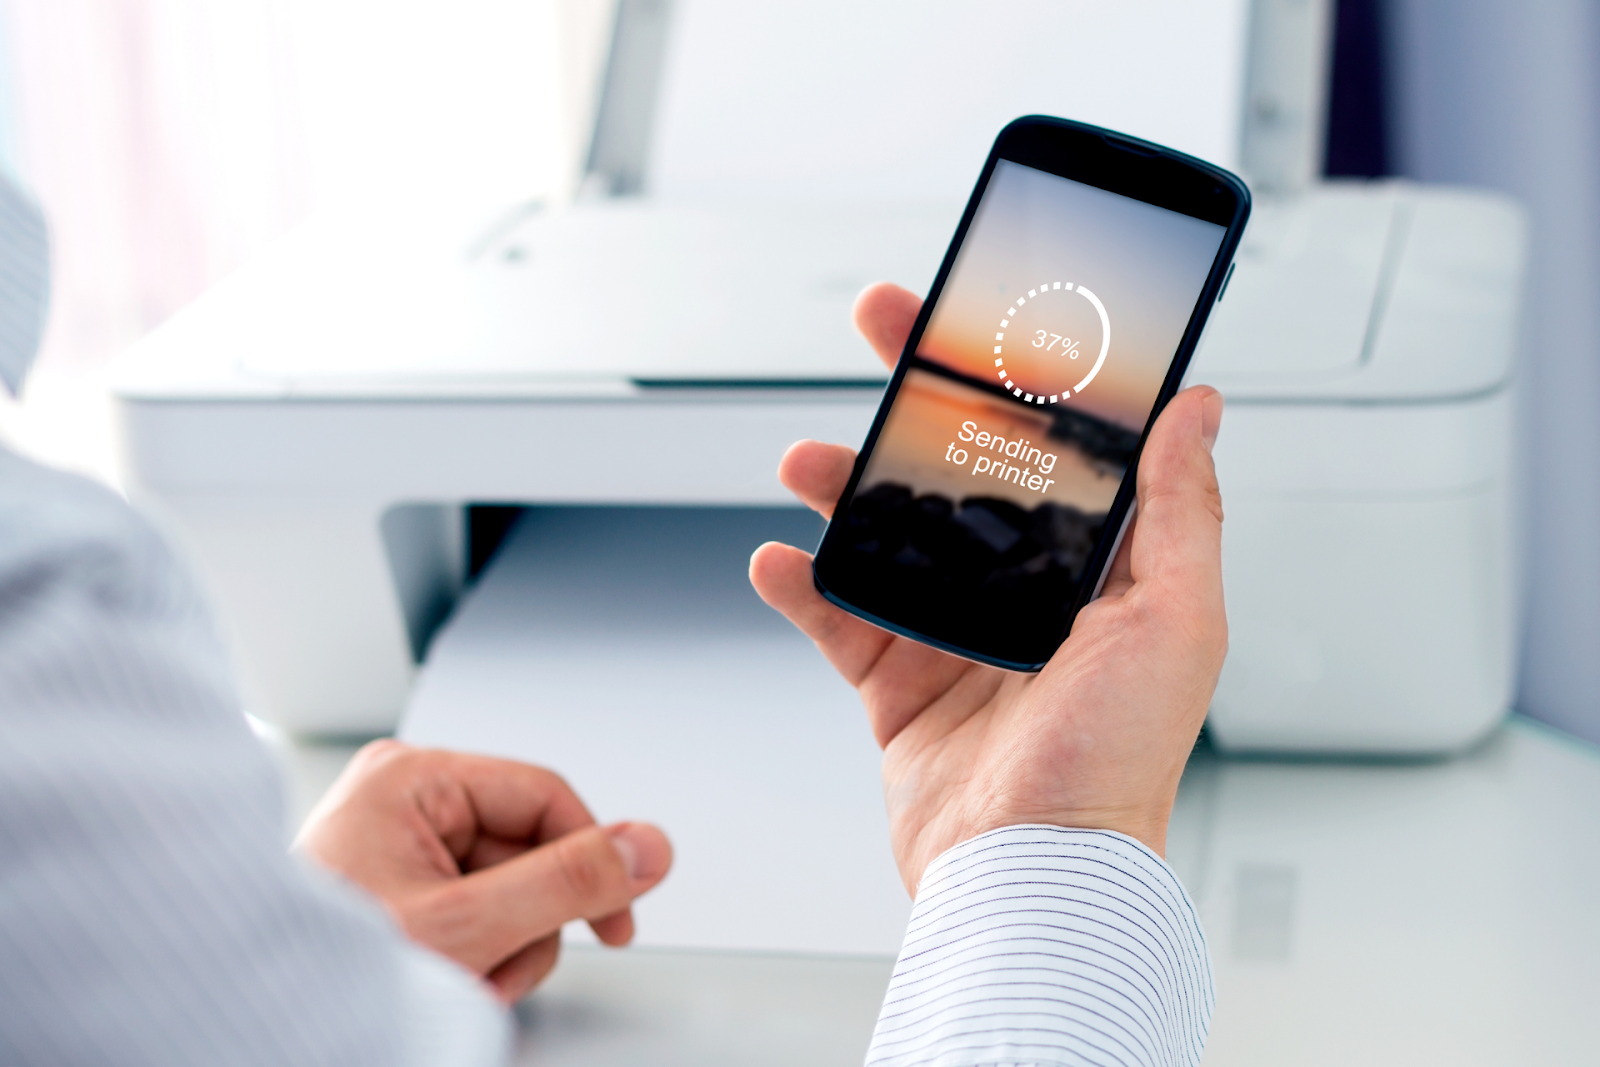
Queries such as “how to add a printer,” to more specifically adding a printer to a network, is one of the most common printer-related problems, but it’s also one of the most ergonomic features of a printer, especially if you want to enjoy the convenience of sharing your printer across a wireless network. This means that everyone in your office or home can access the printer from their own computers. No need to worry about running to that one device that is connected to your printer anymore!
Have you been struggling with adding a printer to your network? Well, that’s about to change now with the help of this blog!
How to Add a Printer to Your Network For Windows
Once you understand how to do it, you won’t ever have to wonder how to add a printer to your network again, because it’s easier than you think!
- The first thing you need to do is to get an Ethernet cable, which you most likely already have, as it should have come with your printer.
- Next, plug it directly into your wireless router and one of the corresponding computer slots. Make sure that your printer is switched on.
- Click start and open the control panel.
- Select “view devices and printers.”
- Under the “printers and faxes” menu, you’ll see every printer included in the network. Click on “add printer” in the upper pane, and select “add a network wireless or Bluetooth printer.” Your computer will now start automatically searching for your device. It should take approximately 10 seconds for the system to find your printer.
- Once the computer detects your printer, click on it, and seIf you’re using an Apple device, you can follow these steps to add a printer to your network.
lect “use the driver that is currently installed” on the following window that appears. - Choose a printer name and click next.
- Select “share with wireless network.”
- Click “finish,” and you should now see your printer under the “printers and faxes” section.
- You can now start using your printer for your wireless network!
How to Add a Printer to Your Network For Mac
If you’re using an Apple device, you can follow these steps to add a printer to your network.
- Identify the name of the printer you would like to add to your network. This should be indicated on the label affixed to the printer itself.
- Next, open the Self Service application and select the “printers” menu. In case the printer you are installing is unavailable, continue to the next step to install it manually. If you do see it listed, simply click the install button.
- Click on the Apple Menu in the upper left-hand corner of your screen and select “system preferences.”
- Click on “printers and scanners.”
- Click the “+” sign on the lower left-hand corner to add a printer.
- Click on “IP,” then in the address field, type in the name of your printer.
- The “use” drop-down pane would automatically select the corresponding drivers for your printer model. In the event that it defaults to “generic printer,” try the following to troubleshoot:
- Double check if your printer is on and connected to the network.
- Change the protocol settings and re-select “auto select” from the “use” menu. Repeat for every protocol setting.
- Make sure that your printer name/address is spelled correctly. Try adding the suffix “-lw”.
- Try clicking on “select software” and find the printer’s model on the list.
- In some cases, you may have to download and install drivers from the manufacturer’s website.
- Once you find your printer, click “add” to continue.
- You should be able to see an “options” box pop up, and the icon should resemble your printer. If you see this, you’re another step closer to connecting a printer to your network. Now, click “OK.” In case you have more printers to add more devices, click the “+” button and continue to add more printers.
- Your printer is now connected to your network. Print away!
The Best Printers To Add To Your Network
In case you’re looking to upgrade your at-home office printer, or wanting to integrate more streamlined printer solutions for your brick and mortar store, you can count on busys.ca! Here are some of our top printer recommendations:
Canon Pixma TR8520:
This printer is our top recommendation for your home office. It’s powerful, compact, and is able to boost efficiency at home, as well as handle any of your day-to-day personal needs. Some of its features include:
- Versatile paper support with front and rear paper feeding features
- Comes with five individual ink systems
- Built-in fax, copy, and multi-page scan attributes
- Built-in WiFi
- Compatible with iPhone and iPad
- Intuitive control panel with LCD touchscreen
- Sleek compact design
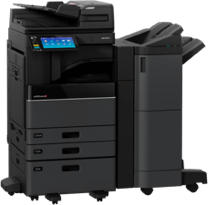
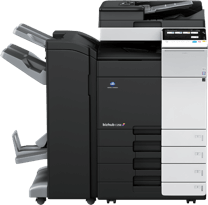
Konica Minolta BIZHUB 808:
This powerful multifunction printer offers not only printer solutions, but also includes copier and scanner capabilities all in one. It’s simple to use, with a touchscreen that is as familiar as a tablet. Some of its features include:
- High-speed 80-ppm B&W print/copy output for optimal productivity
- Dual scanning feature up to 240 opm brings information faster than ever for increased workflow efficiency
- Built-in Emperon print system with PCL6/PS3 emulation, native XPS
- Convenient transparent menus
- Customizable icons
- Intuitive soft keyboards
- Multi-touch functions: Swipe, drag, double-tap, toggle, and pinch
- Easily upgradeable with downloadable apps front the BIZHUB Marketplace
Upgrade Your Printing Experience With busys.ca
With years of experience in software solutions, document management, printer and photocopier leasing, we aim to make business both productive and sustainable.
Learning how to add a printer to your network is one thing, but revamping your office with high-quality equipment is what becomes the pivotal factor in workflow upgrades. Give us a call today to learn more about our services!